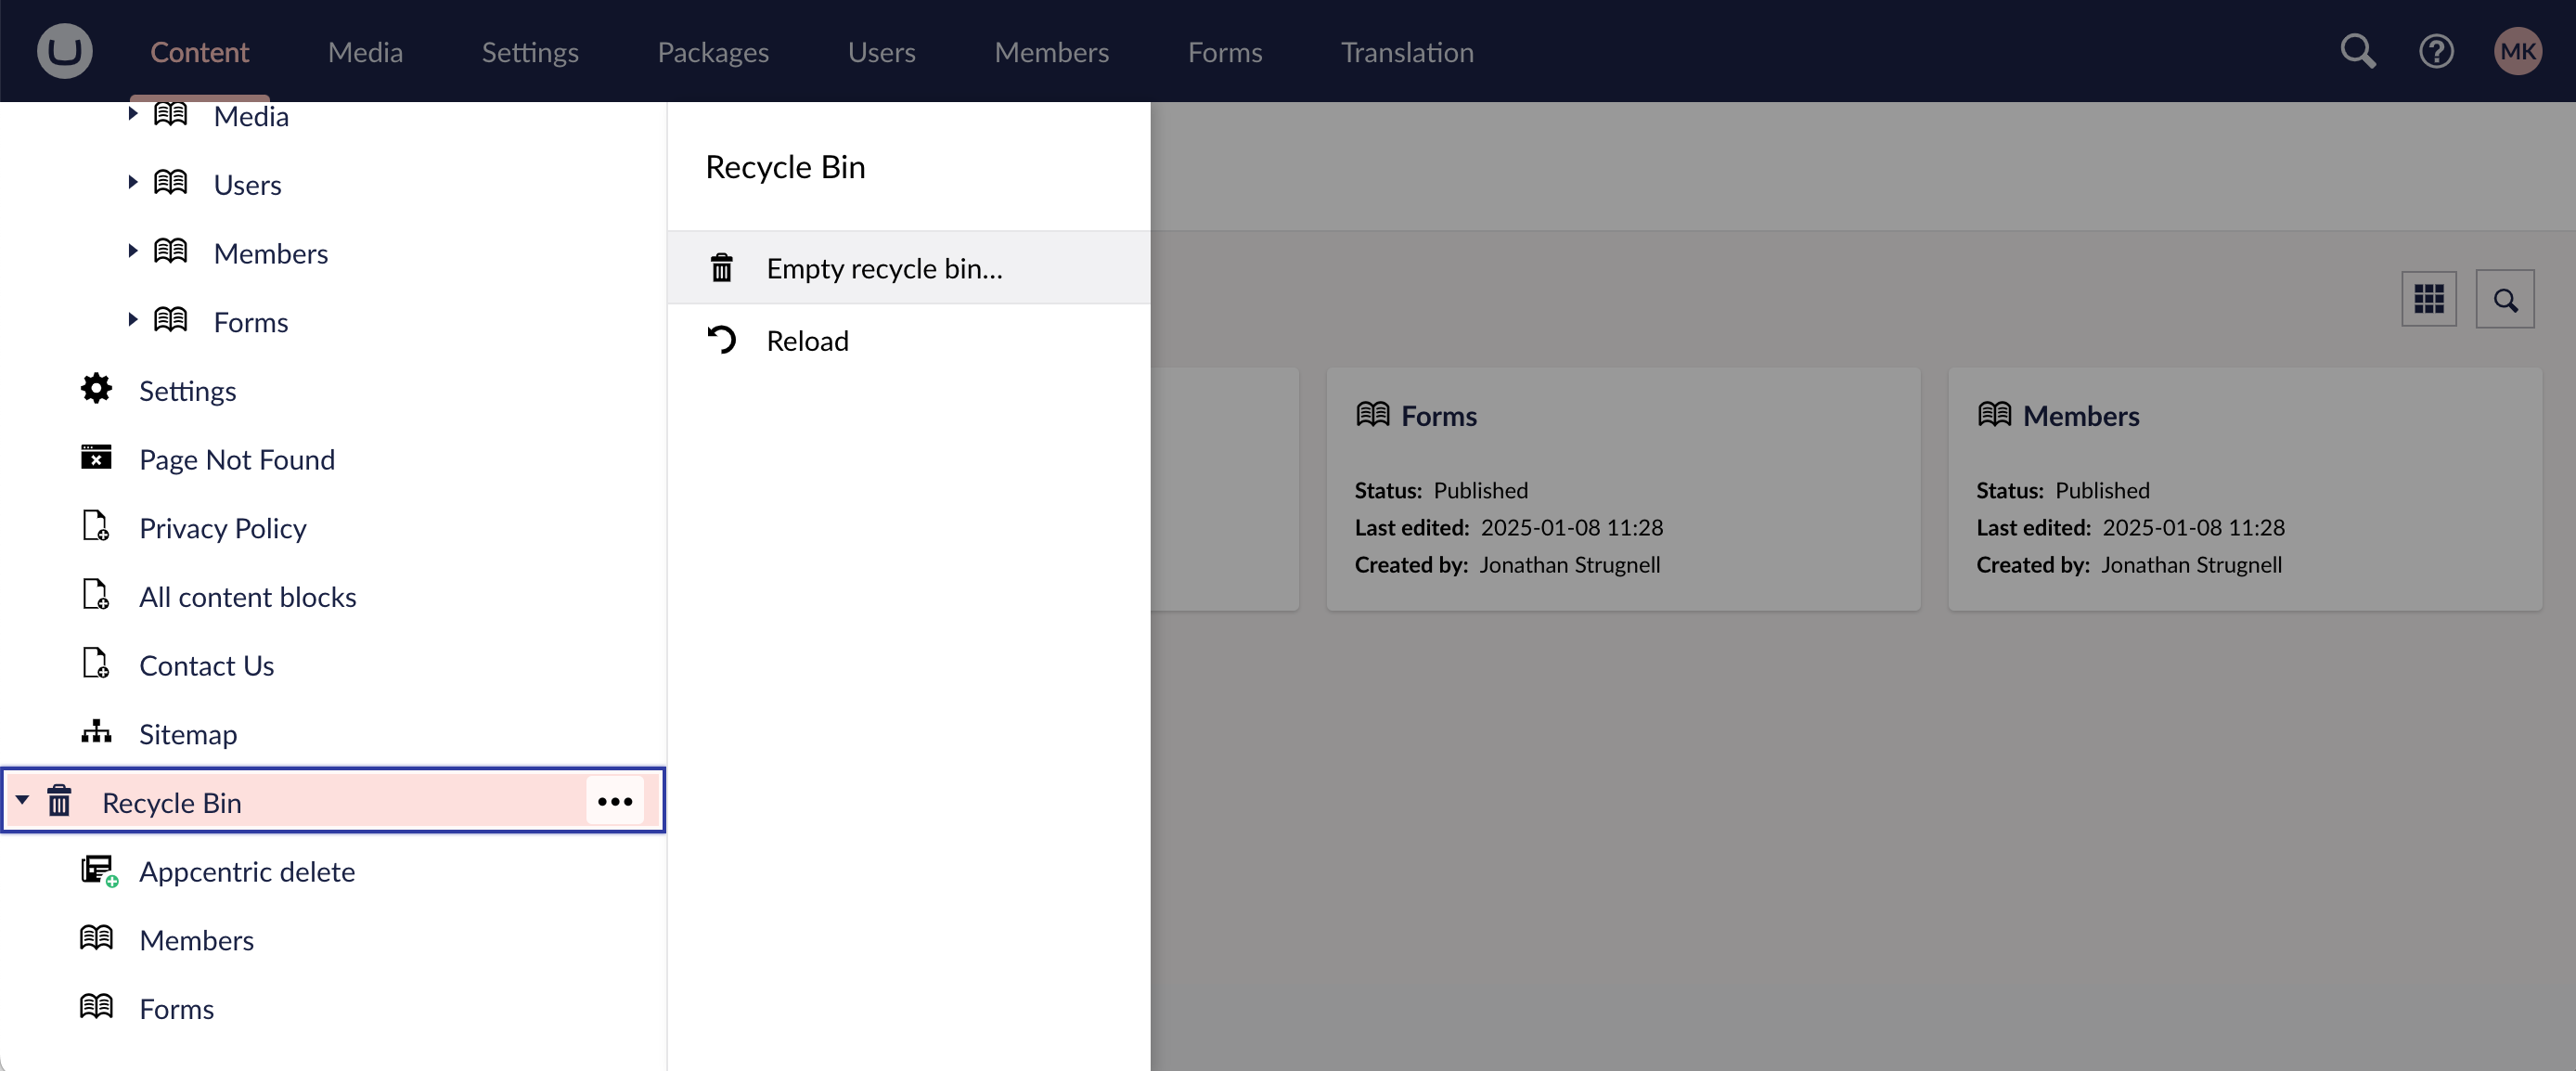
Have you ever accidentally deleted content in Umbraco and thought it was gone for good? Don’t worry—Umbraco’s Recycle Bin is there to help you recover deleted items quickly and easily.
How the Recycle Bin Works
Deleted content: When you delete a page or media item, it isn’t permanently removed right away. Instead, it is moved to the Recycle Bin.
Where to find it: You’ll find two Recycle Bins in Umbraco:
- Content Recycle Bin: For deleted pages and content nodes.
- Media Recycle Bin: For deleted images, videos, and other media files.

Log in to your Umbraco Dashboard and navigate to the Recycle Bin under the Content or Media sections.
Restoring Items from the Recycle Bin
Click on the item in the Recycle Bin that you wish to restore.
Select the "Action" dropdown to reveal the Restore option.

Select "Restore". The item will return to its original location in the content tree or media library.
Check the location to ensure the restored item has been returned to the correct place.
Moving Items from the Recycle Bin
Select the items you would like to move, an action bar will appear with several actions:
- Clear selection
- Move
- Delete

Select "Move" to open a modal with the Content tree and select the location you would like to move the items to.
Permanently Deleting Items
If you want to permanently delete an item, right-click on it in the Recycle Bin.

Select "Delete".
Emptying the Recycle Bin
To free up space or clean up old content, you can empty the entire Recycle Bin.
Right-click on the Recycle Bin and select "Empty Recycle Bin".
- This will permanently delete all items in the bin.

Next insight


