Need to create a blog post in Umbraco? It’s simple! Just log in, write your content, and organise it with categories. You can publish it right away or schedule it to go live whenever you want. It's an easy, efficient way to manage your blog posts and keep everything tidy. Ready to dive in? Let's go!
Follow these steps to set categories, create a blog post and schedule it for publishing:
Creating Blog Categories
Navigate to the section for managing categories (this may vary by setup, often named"Categories" under the "Home" node).
Select the "Create" button to add a new category.

Name the category appropriately (e.g., “General”, “Finance”, “Announcement”).
Save and publish the category.
Creating a Blog Post
Log in to your Umbraco Dashboard.
Navigate to the section where blog posts are stored (e.g., under "News" or "Blog").
Select the "Create" button if available.
Enter a name and title for your blog post.
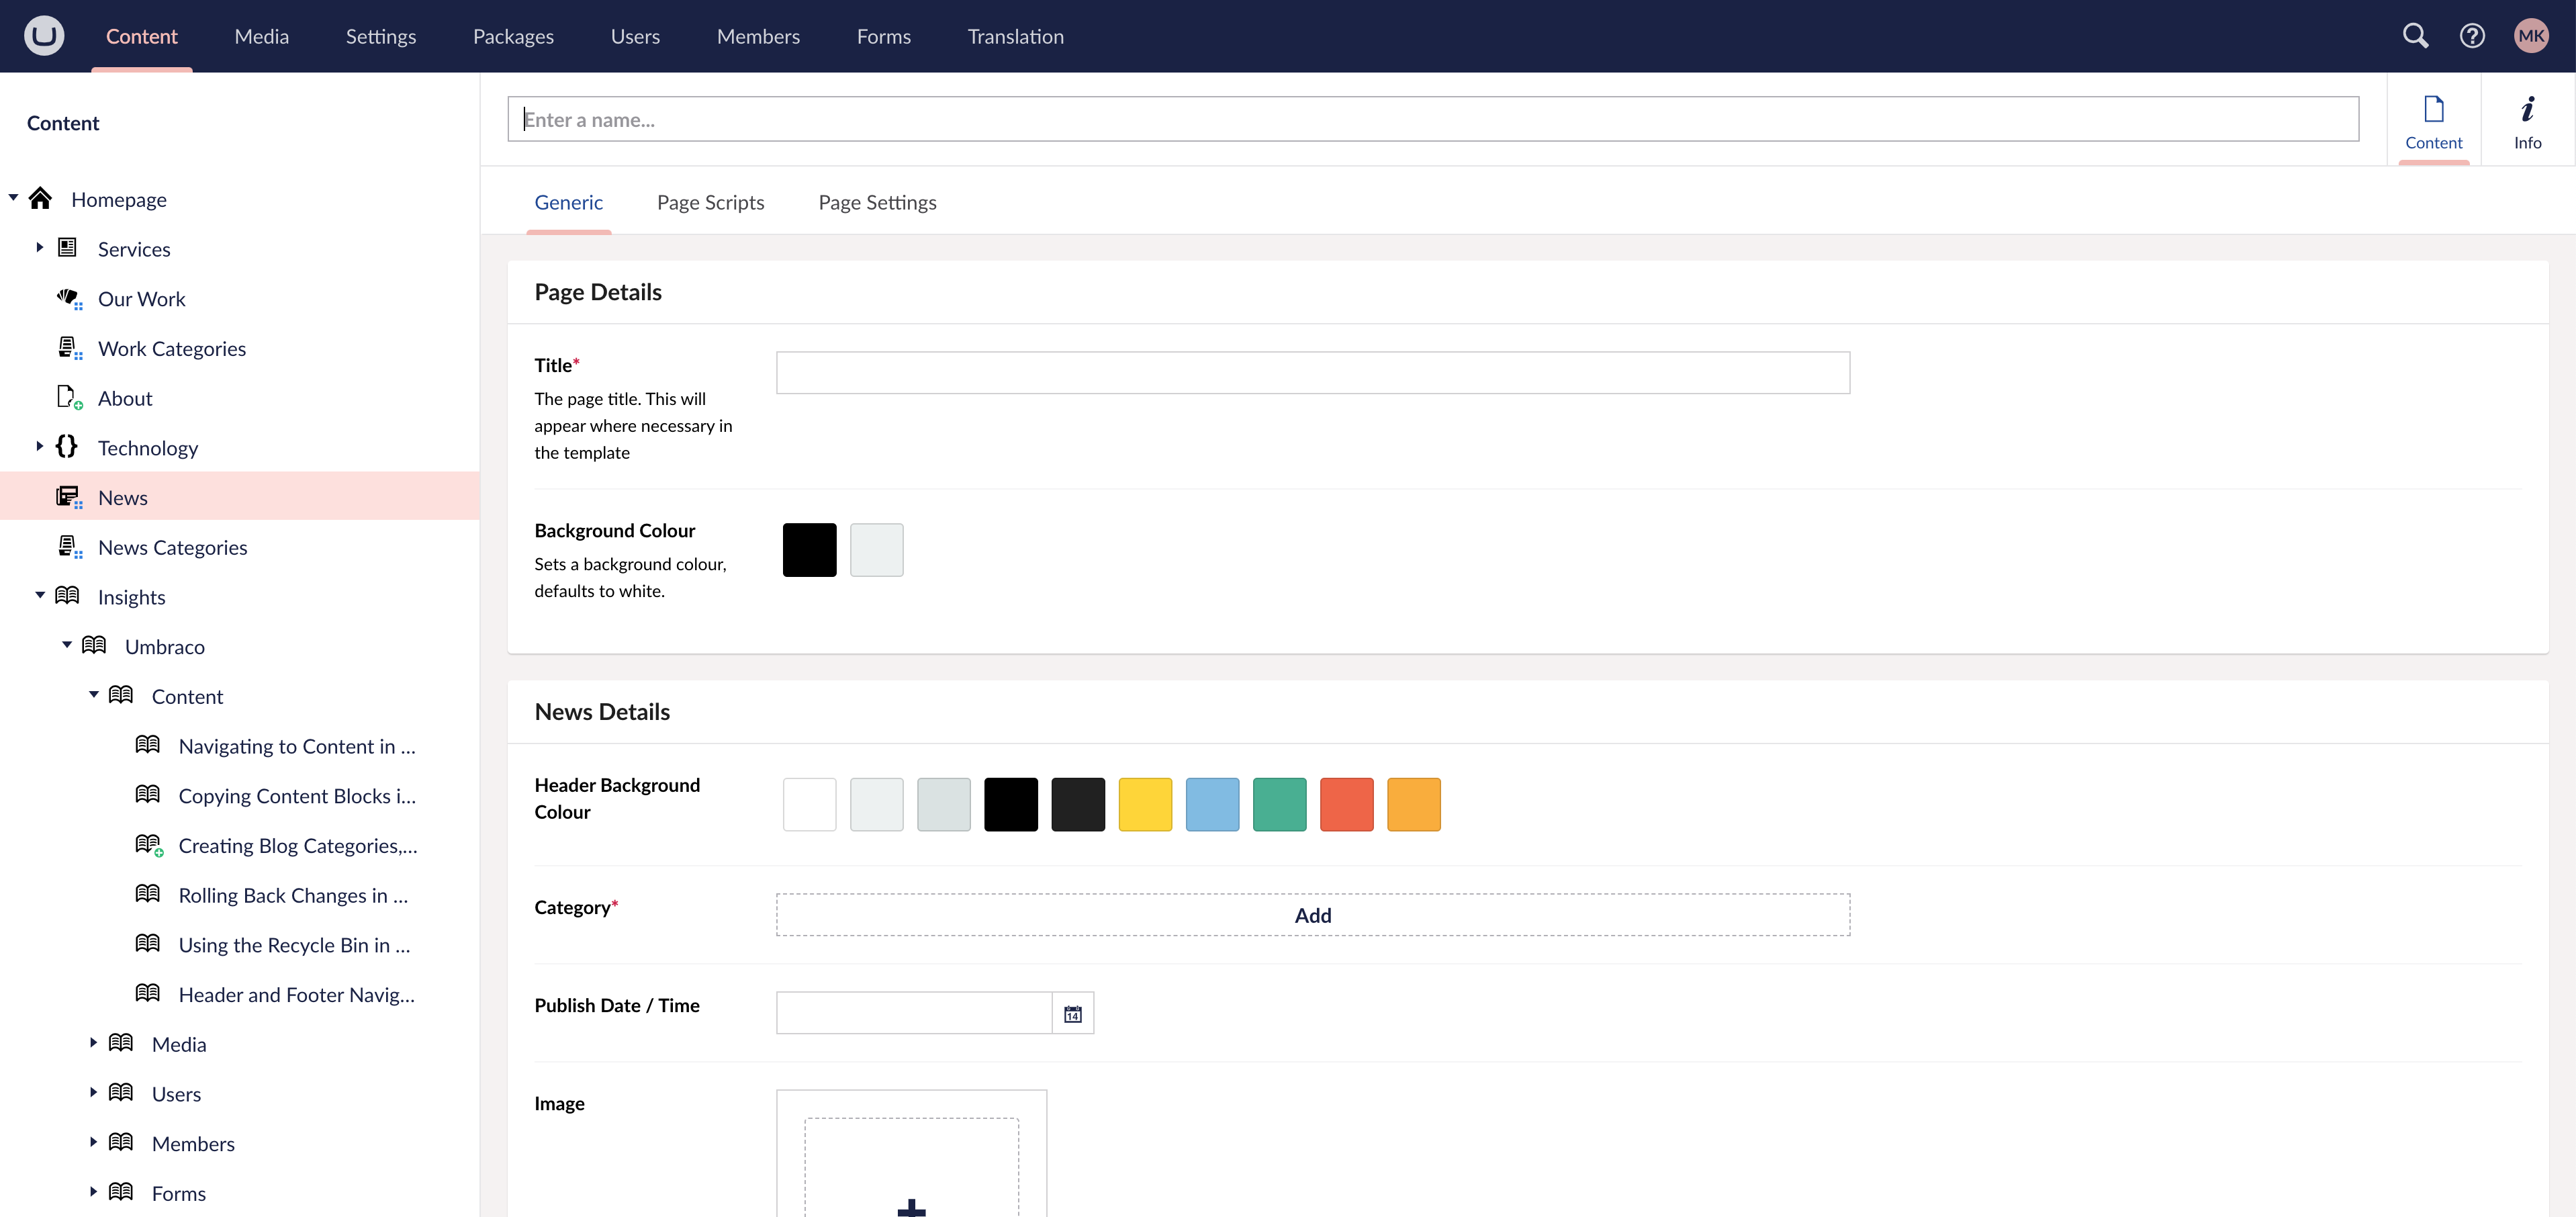
In the content editor, add your blog content - this can include text, images, other media and custom blocks.
Additional fields such as Excerpt, Image, Category, Publish Date / Time, Author and any SEO Settings may also need to be filled out. Once your content is added, click "Save" to store your draft.
Scheduling a Blog Post
When your blog post is ready, open the post in the CMS.
Select the upward arrow icon on the green “Save and publish” button (found in the bottom right of the screen). A small drop down will appear revealing additional options, select the "Schedule…" option.

A Scheduled Publishing popup will appear. Set the Publish at date and time by selecting the “Set date” button, a calendar will appear, select the desired date and time.
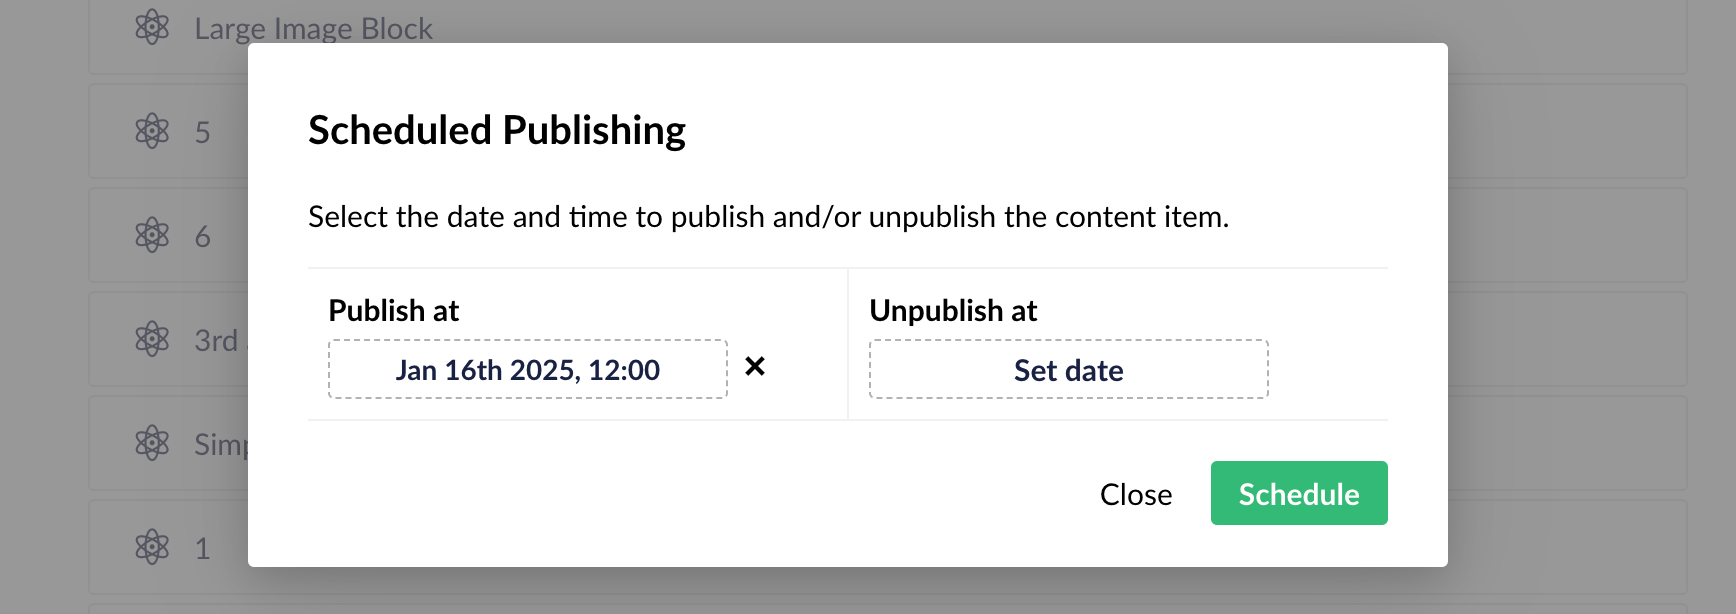
There is also an Unpublish at date and time option that can be configured if required.
Click the "Schedule" button to apply the schedule settings for the post.
A green '+' icon will now be displayed in the Content tree beside the page name.

The scheduled date and time can be changed at any time by accessing the steps above.
Next insight

